Invitations
You can manage invitations; that is, invite individuals by email, edit roles of users, and remove existing users in the organization.
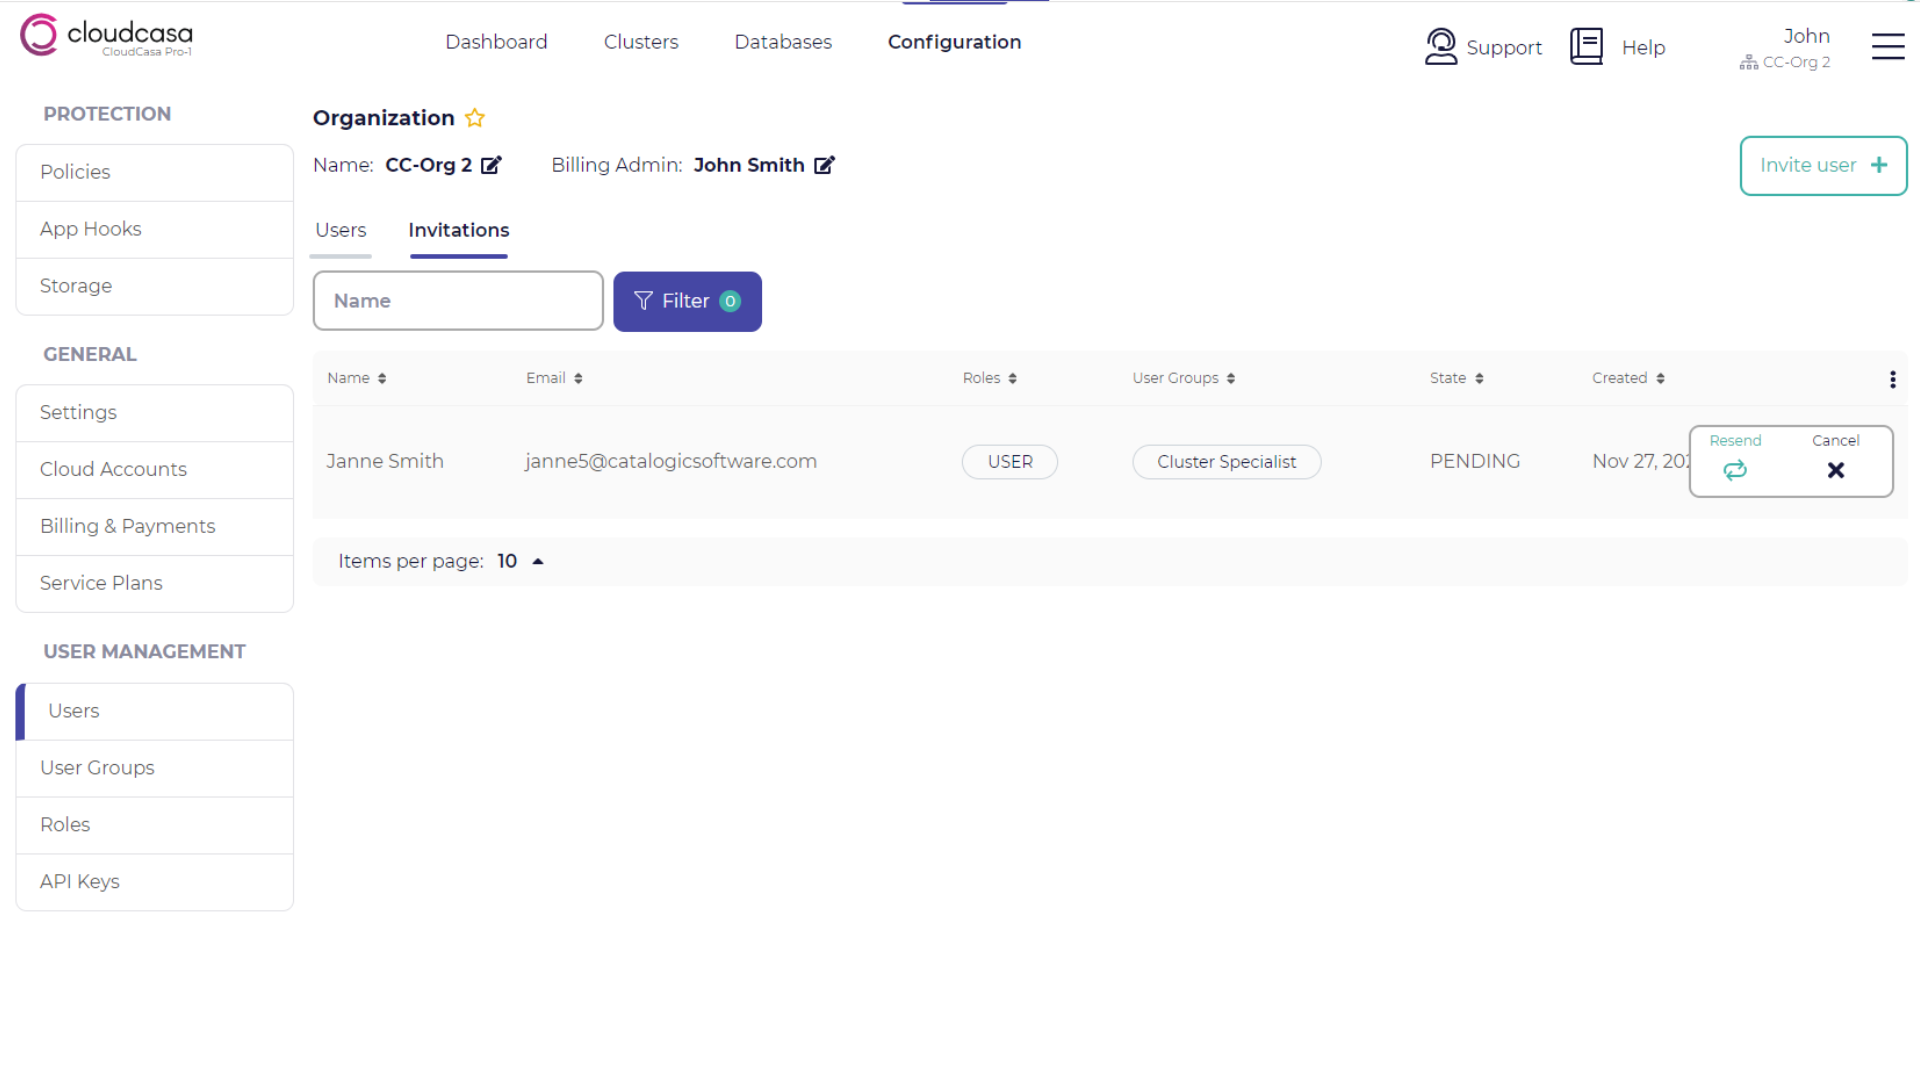
From the menu bar, go to Configuration > Invitations in the User Management section.
Tip
Ensure that the email client of the recipient allows messages from no-reply@cloudcasa.io and does not store messages from CloudCasa in a junk email folder. If the recipient fails to receive the messages, click Resend in the invitation item.
Adding a new user by sending an invitation email
You can add a new user by sending an invitation email. Take the following steps to add a new user.
In the Invitations page, click Invite user +.
In the invite user pane, enter the first name, last name, email address, user groups, and roles of the person to add.
Click Send.

The email recipient will receive an invitation message which includes instructions to be authorized and sign in to CloudCasa. This invitation is good for 7 days.
Until the recipient completes the instructions, you can see the invitation status in the Invitations tab. In this page, you can send the invitation email again or withdraw the invitation.
The recipient receives an invitation email. When they sign in to CloudCasa with their email address, they are prompted to accept or reject the invitation. If they click Accept, they can switch to your organization.

After the recipient accepted the invitation, open the Users page, and ensure that you can see the new user in the list.
Cancelling invitations
In the Invitations page, you can withdraw an invitation after sending it to a new person by clicking Cancel for the invitation item.
After cancelling an invitation, CloudCasa sends a message to the email address in the invitation. The email subject is “Your invitation to join an organization in CloudCasa has been canceled”.