Users
The Users page allows you to manage users in the currently selected organization. It also allows you to invite new users to the organization and manage outstanding invitations.
By default, only users with the ADMIN role can access this page.
The Users page contains two tabs, Users and Invitations. These are described below.
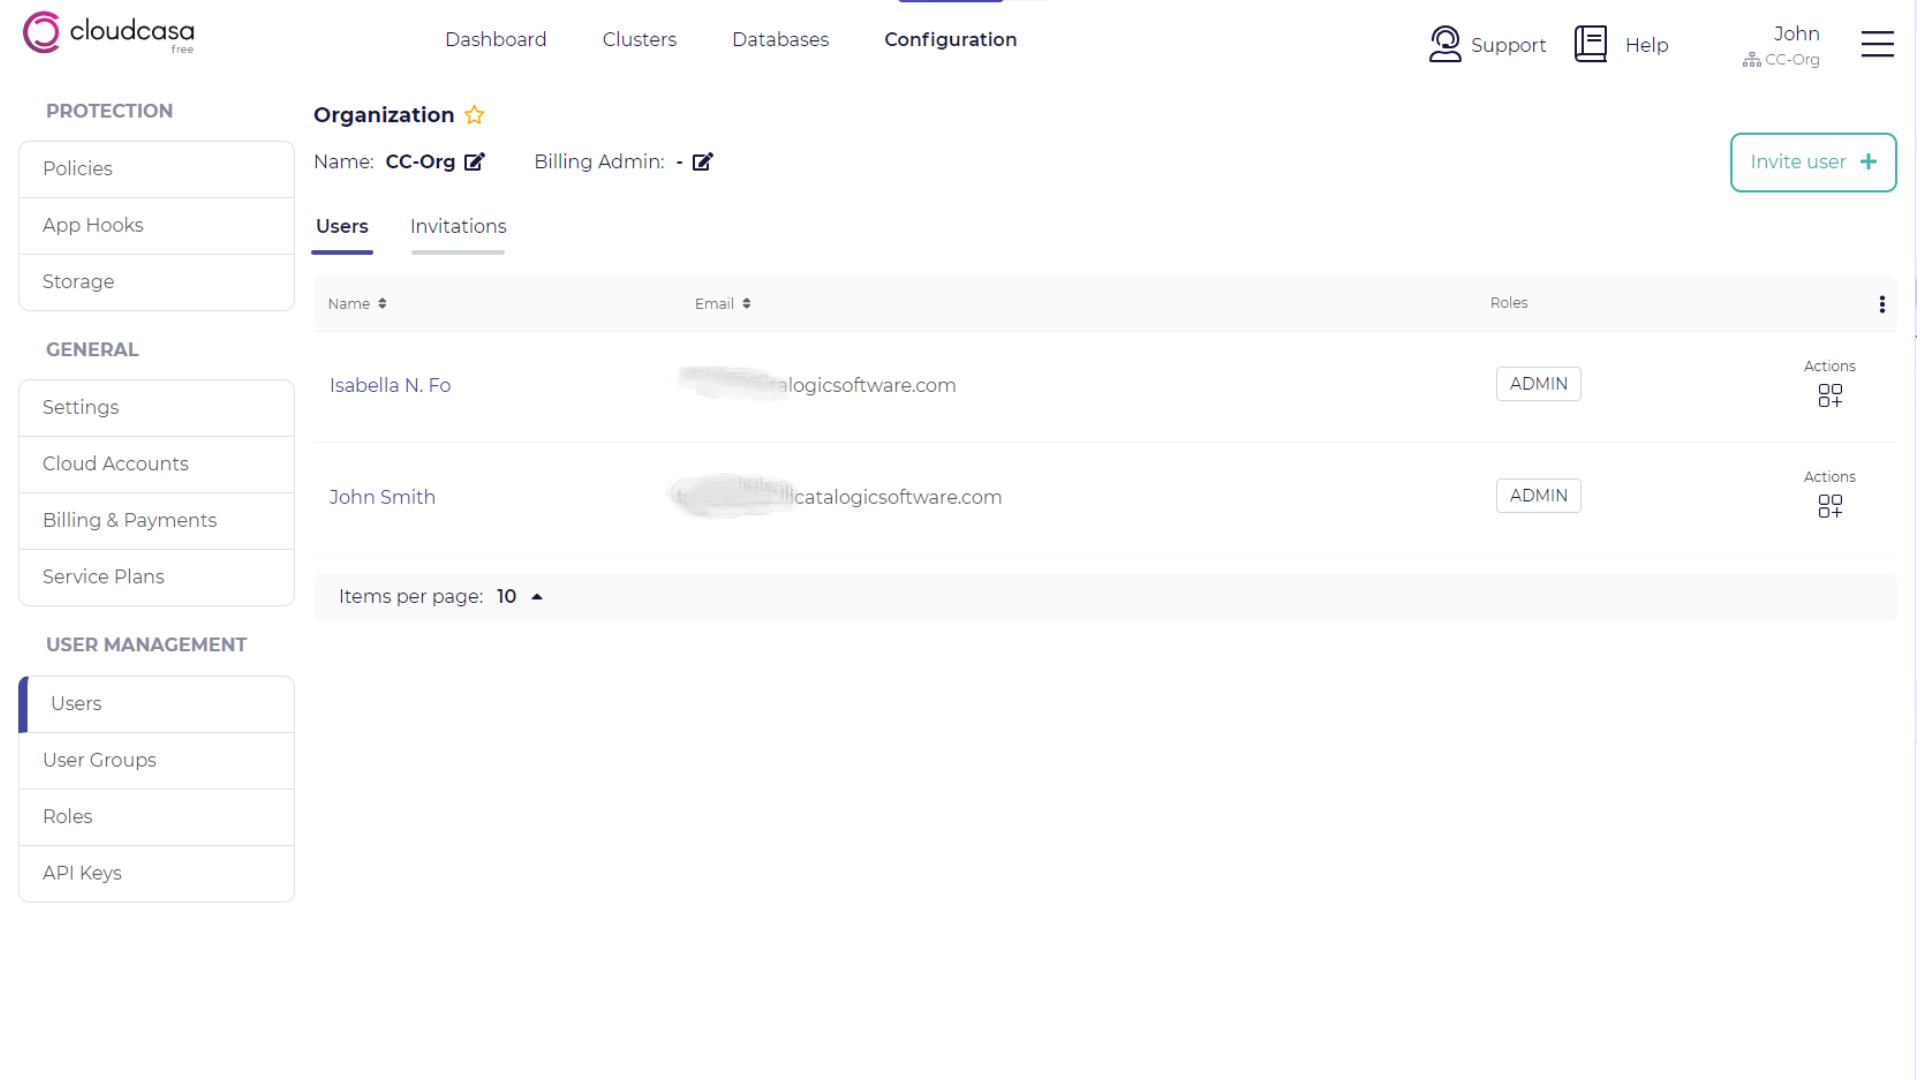
The currently selected organization is displayed at the top of the page, along with an edit icon which allows you to modify its name.
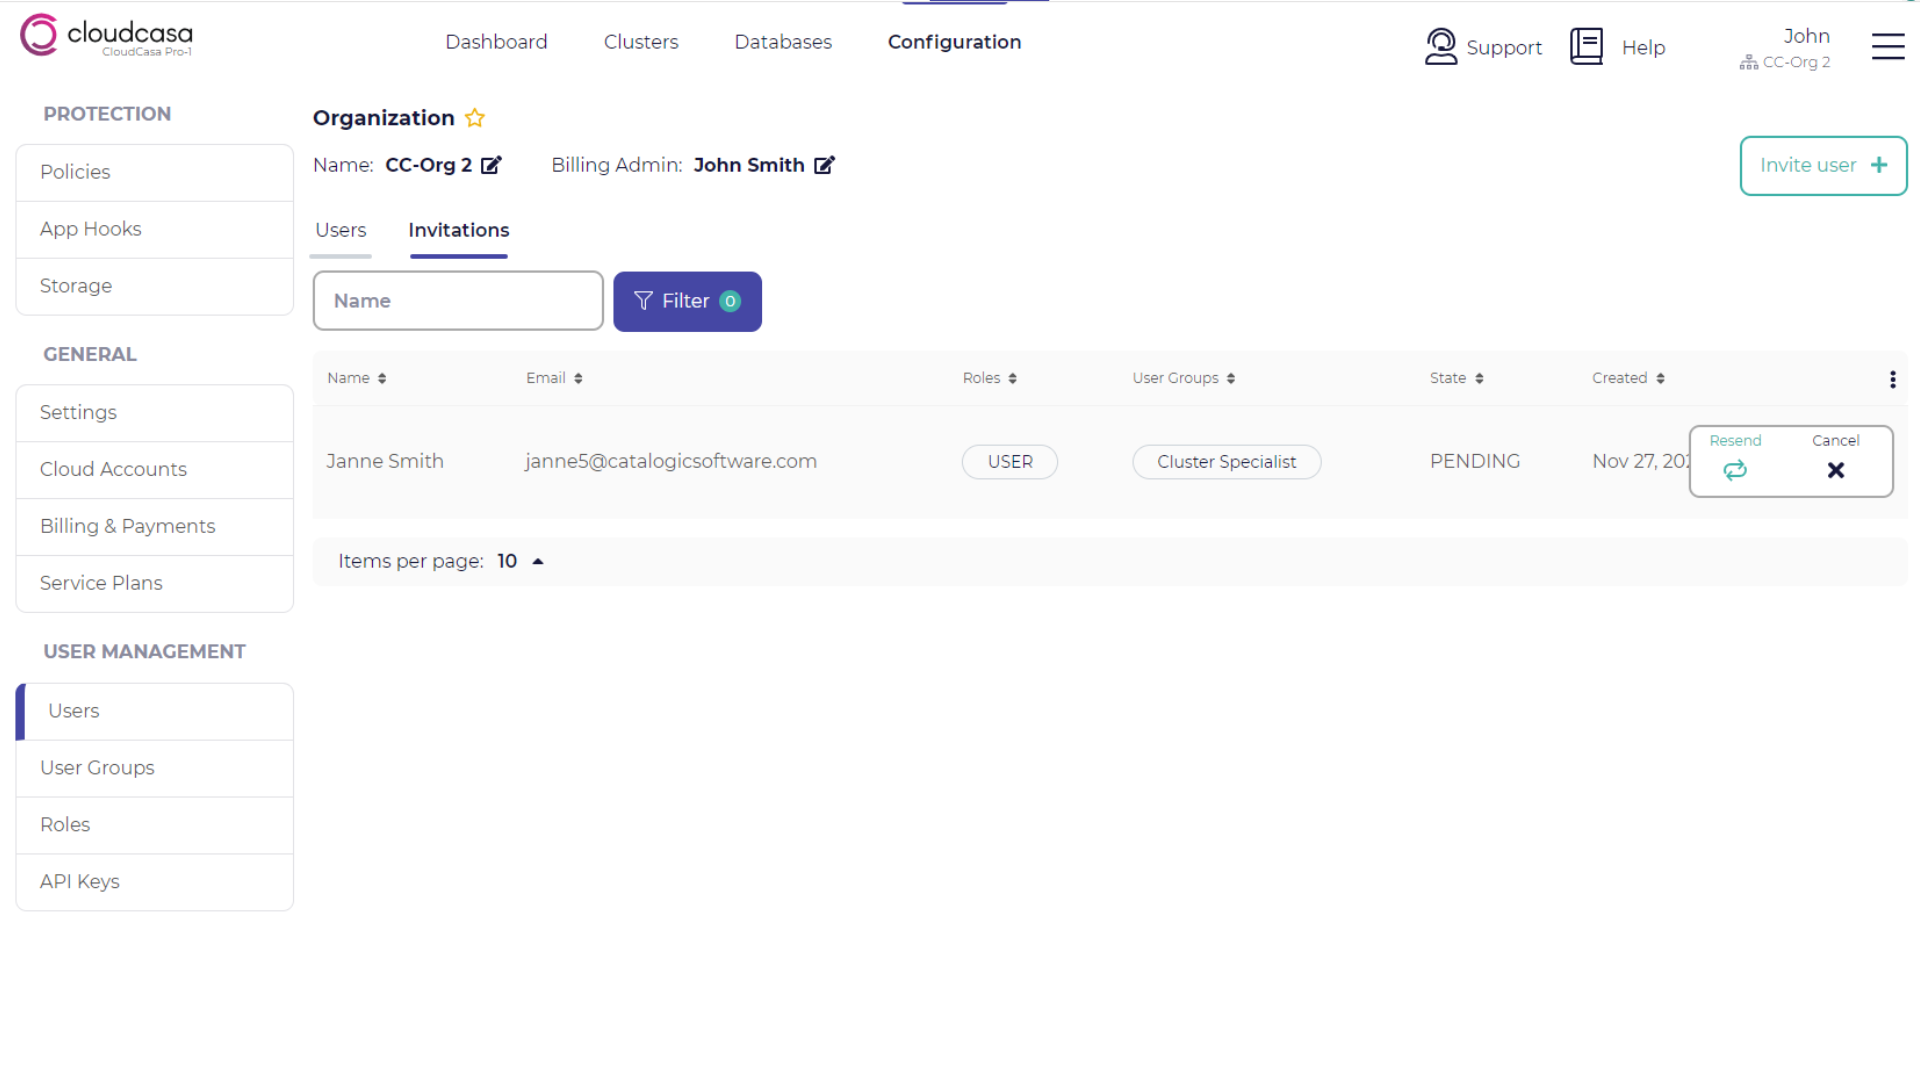
For organizations with paid subscriptions, the current Billing Admin is also displayed at the top of the page, along with an edit icon that allows you to change it (see below).
Users Tab
The Users tab lists all of the users in the current organization. You can edit their roles, edit the groups they are members of, or remove them from the organization using the action icons on the right of the page.
You can invite new users to the organization using the “Invite user” button in the upper right of the page.
Accounts with the Free service plan are limited to a maximum of three users in an organization.
Invitations Tab
The Invitations tab allows you to see and manage outstanding invitations.
Changing the Billing Admin
For organizations with paid subscriptions, the user with the billing admin role is indicated in the user list with a card icon, and also listed at the top of the page above the Users and Invitations tabs. The billing admin can be changed by clicking on the edit icon next to the name of the current billing admin. A dialog with a drop-down will appear, allowing you to choose a new billing admin from the list of current users in the organization. Only one user at a time can have the billing admin role.
Note that the billing admin’s email address will automatically become the destination for invoices and billing-related notifications. If you wish to have other email addresses copied on these, contact CloudCasa support.
See also
Adding a new user by sending an invitation email
You can add a new user by sending an invitation email. Take the following steps to add a new user.
On the Users page, click Invite user +.
In the invite user pane, enter the first name, last name, email address, user groups, and roles of the person to add.
Click Send.

The email recipient will receive an invitation message which includes instructions to sign up for or sign in to CloudCasa. This invitation is good for 7 days.
Until the recipient completes the instructions, you will see the invitation status in the Invitations tab. In this page, you can also resend the invitation email or withdraw the invitation.
The recipient receives an invitation email. When they sign in to CloudCasa with their email address, they will be prompted to accept or reject the invitation. If they click Accept, they can switch to your organization.

Once a recipient accepts an invitation, you will see them listed under the Users tab.
Tip
Ensure that the email client of the recipient allows messages from no-reply@cloudcasa.io and does not store messages from CloudCasa in a junk email folder. If the recipient fails to receive the invitation email, you can click Resend next to the invitation item to resend it.
Cancelling an invitation
You can withdraw an invitation that has been sent by clicking Cancel on the appropriate line under the Invitations tab.
When cancelling an invitation, CloudCasa will send a message to the email address in the invitation. The email subject will be “Your invitation to join an organization in CloudCasa has been canceled”.